

Fix Paint Chips in 3 Simple Steps
Repair rock chips, road rash and small scratches with factory-matched touch-up paint—without sanding, spraying or a body-shop visit.
Is Dr. ColorChip right for your repair?
The system is designed for chips and scratches where paint is missing. Use these guides to set the right expectation before you begin.
Rock Chips
Small, isolated chips on hoods, bumpers, doors and body panels.
Check repair suitability →Road Rash
Clusters of small chips caused by highway driving and road debris.
Explore road-rash guidance →Scratches & Scuffs
Works when the scratch has removed paint—not for marks sitting only on the clearcoat.
Identify your scratch →Rust or Bare Metal
Active rust must be removed and the surface stabilized before touch-up paint is applied.
Read surface guidance →Apply. Level. Blend.®
Preparation comes first. Then our three-step process places paint in the damage, levels it with the surrounding finish and removes the excess.
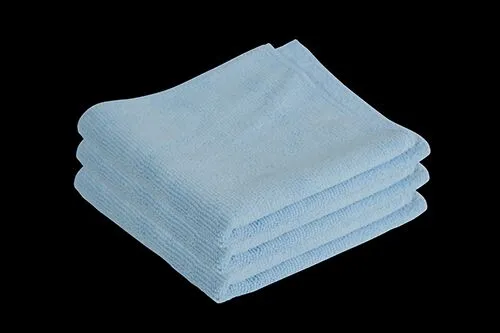
Clean the repair area
Wash the panel with soap and water. After it dries, remove wax, oils and contaminants with denatured alcohol or Dr. ColorPrep so the paint can adhere properly.
- Work on a cool, dry panel out of direct sunlight
- Confirm the factory paint code before beginning
- Have paint, applicator, glove, cloth, SealAct™ and microfiber towel ready
Need the code? Use our paint-code location guide or start with your vehicle information.
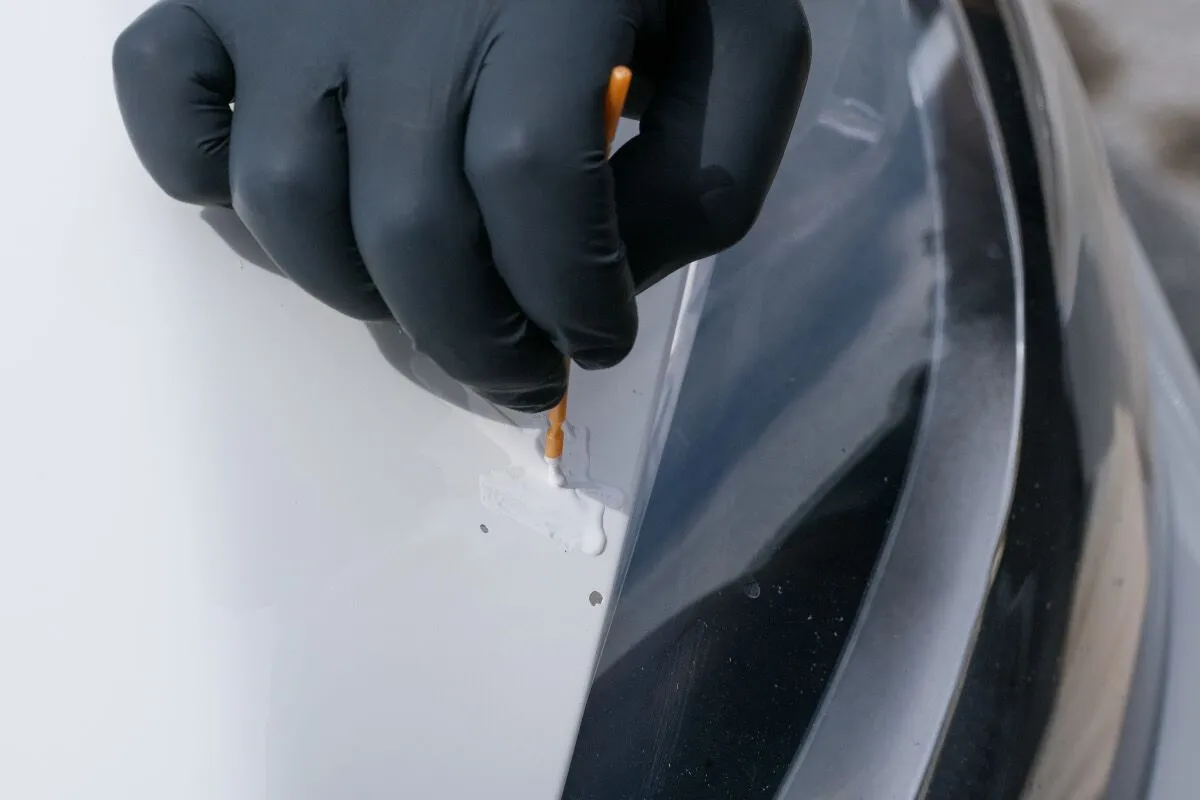
Apply
Place a small amount of factory-matched paint beside the chip using a pipette, brush or the bottle. The paint will be moved across the damaged area during the leveling step.
Best practice: Avoid building a large paint blob directly on top of the chip. A little paint goes a long way.
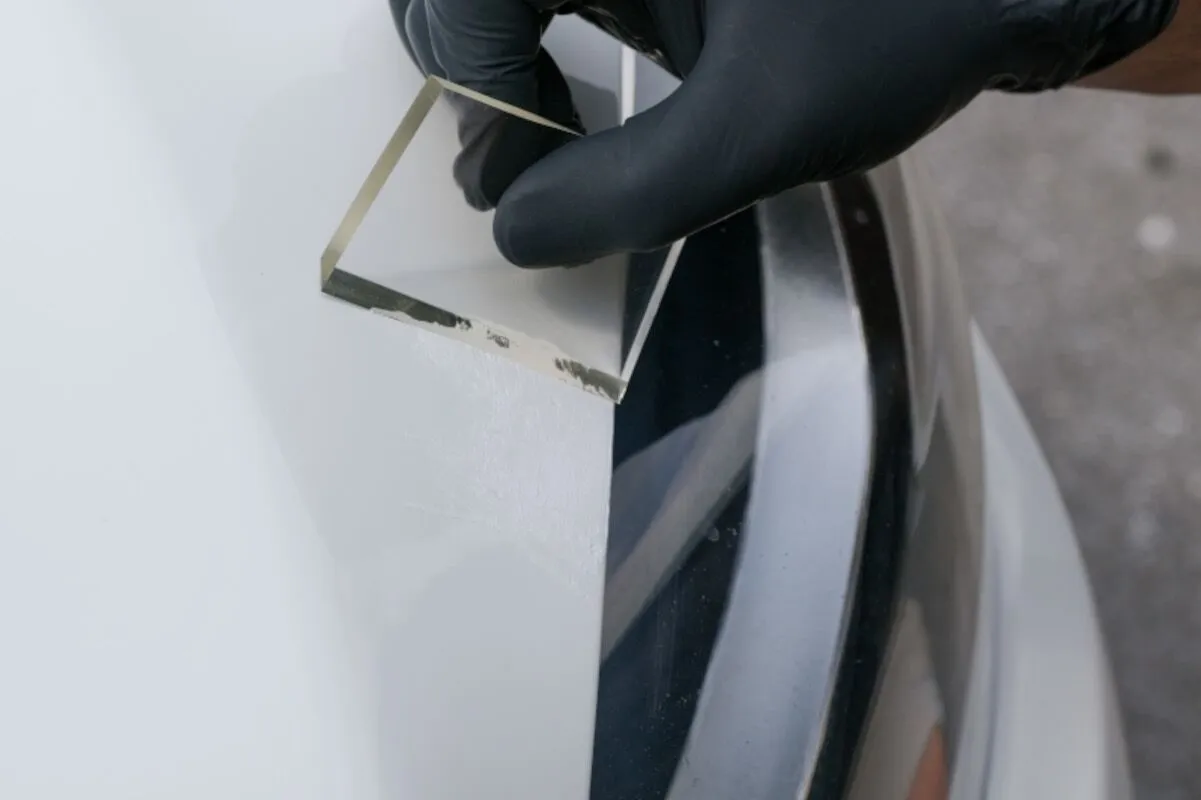
Level
With very light pressure, move the paint across the chip using a Flex Clear™ Squeegee, Ultrabrush or the flat side of a gloved finger. Let the paint settle naturally into the damage.
Allow it to dry to the touch for a couple of minutes. If the paint is still tacky or transfers to the glove, give it another minute or two.
Keep it level: Do not try to build the repair above the surrounding factory paint during one application.
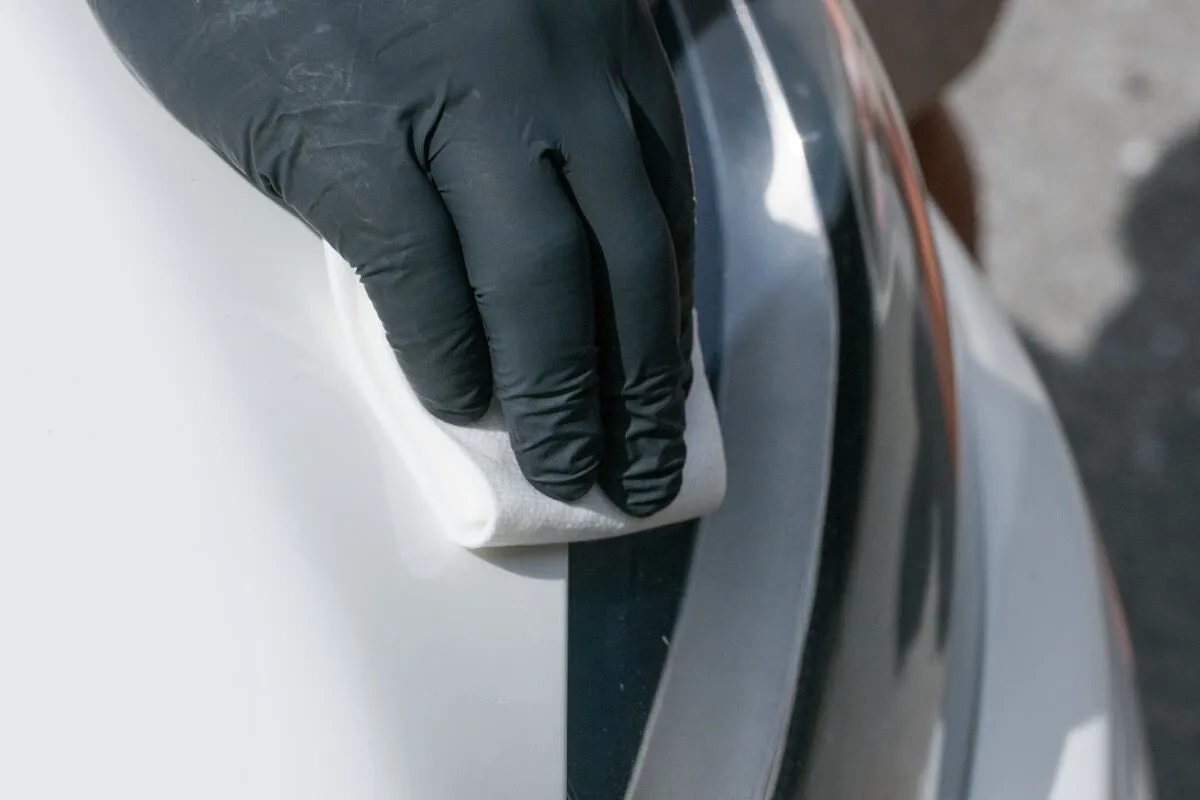
Blend
Shake SealAct™ for 10 seconds, then lightly moisten a small section of the blending cloth. With a rapid back-and-forth motion and very light pressure, allow the solution to soften and remove the excess paint surrounding the repair.
Once the surrounding paint is clean, stop blending and buff the panel with a microfiber towel.
Use a light touch: If paint pulls out of the chip, simply repeat the process with less pressure.
Build the fill with additional layers
A deep chip may remain slightly below the surrounding paint after one pass. Repeat Apply, Level and Blend until the desired fill is reached, allowing approximately two hours between paint applications.
Deep-chip guidance →Driving, washing and protection
The vehicle can be driven after blending is complete. Allow the paint to cure before aggressive machine polishing, ceramic coating or paint protection film.
See after-repair timing →See the process from every angle
Compare real customer results, watch damage-specific techniques and read independent reviews before choosing your kit.
Real Before & After Results
See road rash, chips and scratches repaired on actual customer vehicles.
View the gallery →Instructional Videos
Watch the core process plus tutorials for edges, bumpers and multiple chips.
Watch the tutorials →Reviews & Press
Explore customer experiences, independent tests and automotive media coverage.
Read the reviews →Ready to repair your paint?
Find the factory color for your vehicle, then choose the kit that fits the damage.